I got my inspiration for a drying rack mounted on the wall a couple of years ago from a Martha Stewart magazine. I always intended to do it but actually forgot about it. Then I saw the one that Ballards Design offered. Oh my! I loved it but nearly choked on the price and to be honest they were just a tad too big for what little space I had. I do not have a laundry room but really more like a "closet". What a dilemma until I was cleaning out some things. I almost threw away a memo holder that was not serving its purpose any longer, when I thought about the frame. It hit me just then that it would be the right size to mount on the wall in the "laundry closet" as a drying rack. All I had to do was remove the separators, build an inner frame with dowels and I would have a drying rack. So this is how I did it. As you can see it was just a memo holder/corkboard originally.

Knocked out the center dividers, removed staples, filled holes and painted a primer coat on it.
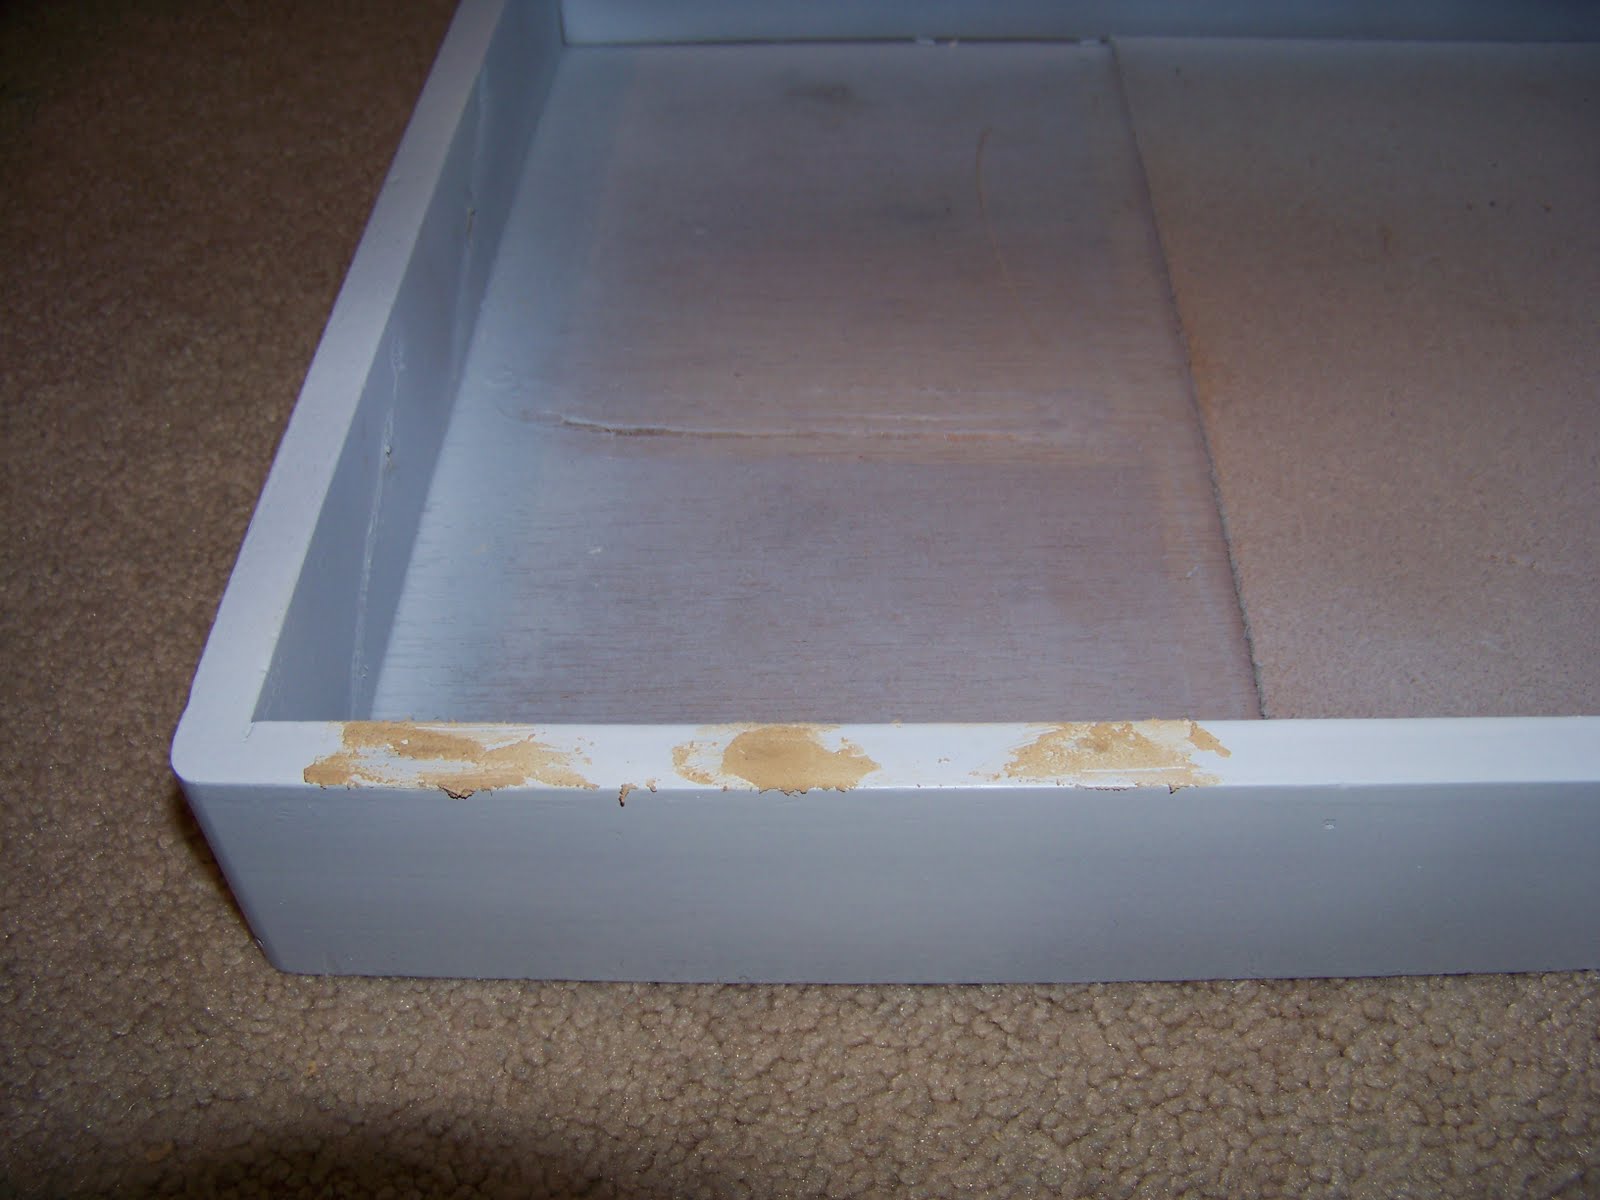
Measured the inside of the frame to determine the size of the inner frame. Then cut 1x1 to the desired length. Next I measured, marked and drilled holes for the dowels. I decided to do 4 rungs on my rack but you can adjust it to your needs.

Assembled the inner frame with the dowels.

I had found these little letters for 20 cents ea to spell out "laundry" so I attached them to the outer frame at the top.

Cut a piece of white beadboard to go in the inner frame to cover all that ripped corkboard.

I gave everything a couple of coats of white paint and sealer. Attaching the inner frame to the outer was easily done with little hinges at the bottom. A hook and chain holds it open when in use. A little metal latch at the top keeps it closed when not in use.

I am so pleased with how this turned out. Most of the materials I had on hand from other projects. I spent around $10, so much better than $59.99 and $79.99 price for Ballards drying racks. Don't ya think? Here are a couple of other links to inspire you to make your own drying rack: http://www.marthastewart.com/good-things/make-a-foldout-drying-rack ,
http://www.centsationalgirl.com/2009/07/diy-laundry-room-drying-rack/
I can not wait to see the pics of the ones you create for your laundry rooms!
I am linking up with these wonderful sites:
Someday crafts