Thursday, April 22, 2010

Wire Art Planters for the Garden

Last year I noticed my neighbor had a set of cute turtle wire forms planted with succulents. They were so adorable and I knew that I had to get some. So off I headed to the nursery where she got hers. Unfortunately most of the forms they had in stock where just a little out of my budget.....OK, very much out of my garden budget. I left with the feeling that I would have to add it to my wishlist for the following year.  Take a look at how cute these planters are. I just adore them especially the shoe and the rooster!

Photobucket


Photobucket

Photobucket
After realizing that the wire art planter was not coming home with me, I headed out to The Bargain Box which is a thrift store near me to see what I could find. I was so lucky that I found these wire shapes. How awesome was that??? I really was not looking for anything, just passing time.  Fate was truly on my side. Now the wire hen basket was actually intended to be an egg basket but I knew this could work just like the forms they were offering at the nursery. 

Photobucket
Photobucket
 I purchased several bags of moss from Walmart. It takes more bags than you would actually think. Thses wire forms are small and I used about 4 bags total for them.
Photobucket

Photobucket

After submerging the moss in water for 10 minutes, I packed it into the forms very tightly. The lady at the nursery stressed that this was very important.
Photobucket

Photobucket
Once the form was filled with the moss, I was able to begin the planting. I picked up some hens and chicks to plant in them. I already had some stonecrop that could be used. Because the moss is packed so tightly you have to use a screwdriver to make a hole to slide the succulents roots in.
Photobucket
Photobucket
TaDa!!!
I think the end result was fantastic! This little hen looks just like the forms I saw at the nursery.
Photobucket

Here you see it resting in its permanent spot. As the years go by I may need to give it a haircut but other than that I will sprinkle it with water when the hen is thirsty.
Now I am checking all of the yard sales and thrift stores for the wire decor that was so popular a couple of years ago. This is a super easy project for the garden or as a gift. I have already found some wire apples.......want to guess who I am giving those to?
I am linking to the folllowing sites:

 
Get your craft on Thurs.

 
Transformation Thursday
 
Making
DIY Day @ ASPTL
 

Sunday, April 18, 2010

Learning facts!

So the twins have been learning multiplication and division facts all year. The problem was none of it was sticking with them. Some of you may know but anyway, the twins were born at 25 weeks. This has and still does create some challenges while they are growing. To begin with, it was developmental and health issues. Now we have moved on to learning issues. Their older brother seems to thrive in school and these two really have to work harder to retain and process all the info they are taught. I have been drilling them on their facts since last summer. Let me just say.... that has been hit or miss! One day they know them , the next day they don't. They were miserable and I was frustrated. Out of desperation I started searching for some ways  that other parents or teachers were able to instruct times tables to children with LD's. Look at what I found:

 I found several other products that had the same basic principal behind it but this one seemed to be priced right and I loved that it had a free trial offer. That was the clincher for me. The downloaded version contains the 9 facts. IT works!!!! My boys had the 9 facts memorized within a 2 day period. Wait.....it gets even better...... the boys tore open the package when we got the entire system in the mail because they were so excited about learning their multiplication facts. How Awesome is that !?! Within a weeks period they now know more than 80% of their facts. We probably could have done better than that but we have been sick this past week so studying has been hit or miss. I can not say enough good things about Times tales. It is fun, easy and the perfect visual mnuemonic system for the child that has trouble with memory recall. I am so happy that the twins are enjoying that wonderful feeling of success and accomplishment! It truly was worth every penny I invested!

Monday, April 12, 2010

Thrifty and Pretty Garden!


This is truly such a wonderful time of the year if you love to garden. I usually start thinking in March what kind of plants I want to add to my garden. It can become quite costly though especially when you think  flowers should be hanging and growing in every corner of your garden. I do several things to keep my cost down. I look for unusual containers at the thrift stores to plant my flowers in. Sometimes you have to look at the item and forget what it was meant for. Think of how can you use it.
I love this 3 tier basket and most people never guess it was intended for the kitchen. I cut and stitched new coco liners for them and planted Sedum and Stonecrop in them. Here is a closeup for you of one tier.
Can you believe I only paid a dollar for this cool hanging basket at a yard sale? OK... one more closeup of another tier.


Another trick that I do to get more bang for my buck is to buy one big hanging basket and subdivide them into two or three baskets. These Ferns started out as one giant basket. My plans are to subdivide them again to get another fern basket made up. Lets hope this weekend coming,  fingers crossed.
 
As you can tell I really like the wire hanging baskets with coco liners. The Dollar Tree normally has the hanging baskets and liners. You can also grab some nice heavy duty ones at the end of the season when they are on clearance. I find the ones from Dollar Tree work well on the annual baskets I make up and the heavy duty ones work better for my Ferns.


This is one of a set of planters I made up with 2 hanging baskets and some Daylillies  divided from my yard. I do intend on adding some Creeping Jenny to it this weekend. I love that stuff. One of my favorite plants!!  The very last tip for now will be to take any perennial that someone is giving away. I have a whole bag of  Irises that someone gave me in the fall.  I spread them through 4 pots, now I just need to add a trailing plant and some annuals to them. Soon they will be worthy of what you see at the nurseries. What do you do in your garden that is thrifty and frugal?

Thursday, April 8, 2010

One of my favorite places

I absolutely love visiting thrift stores, garage sales or flea markets. I love the hunt for something special, the unexpected and the forgotten object waiting to be treasured again. I am so lucky that where we live now has so many thrift stores and community yard sales. I know not everyone appreciates old or used things but I have always been someone who never quites looks at things as they are but more of what they can be. Just look at what I found last week :

I think these will look so sweet hanging in my kichen. They were just 50 cents ea!

I loved these dishes! I thought these would look great for a spring table setting.
(Excuse the mess in the pic , I am on spring break and have like 5 projects going, all in seperate rooms!)

I plan on transforming this into something  really neat for the garden. I will have to show you when I am done!  I usually spend my Saturday morning hitting up my local thrift stores. I do believe my boys have inherited this gene too. They tend to be very disappointed if for some reason we do not head out for our weekly excursion. Well I need to get busy with all of these projects I am working on. My spring break is slipping away rather quickly!

Monday, April 5, 2010

Team Spirit!

My Hubby loves the DUKE Blue Devils. As a result the boys and I have fallen in love with them as well. Dh is like a kid in a candy shop when the collegiate basketball magazines roll out in the fall. It is always a big production at our house when DUKE plays. We serve some tailgating food and all sit sown to watch those Blue Devils shoot some hoops. The last couple of years have been rough, their season usually ended in the sweet 16. I know be thankful they made it to the tournament. This year though, they have marched right on to the final championship game. Awesome Babeee!!!! ( said with my very best Dickie V vioce). This called for something special. So I started looking for some DUKE dishes. I found some..... nothing that really hit home or fit the pocketbook. I just happened to come across some white enameled steel bowls and a white crockpot at The Bargain Box. My little brain started thinking it would be so EASY PEASY to paint the DUKE emblem on these things. So I shelled out 7.50 for 3 bowls, 1 crockpot, 1 metal tray and 2 ceramic candlesticks. Oh yeah, I do Love some Bargain Box!

So this is what I started with ( sorry, somehow lost the before pics of the crockpot, tray and candlesticks). As you can see they are just a white enameled stainless steel bowls which made a great base for the royal blue Delta Air Dry PermEnamel paint.


The metal tray was a beat up tray with flowers on it and the candlesticks were a painted ceramic so I just spray painted them with white flat paint. After I painted the logos on them. I put a clear lacquer finish on all of the pieces. This is the end result. DH was very impressed and I can not wait to use them tonight for our traditional DUKE pregame dinner!


I am linking up with these great sites:


The Girl Creative


Get your craft on Thurs.

Sunday, April 4, 2010

My Drying Rack


I got my inspiration for a drying rack mounted on the wall a couple of years ago from a Martha Stewart magazine. I always intended to do it but actually forgot about it. Then I saw the one that Ballards Design offered. Oh my! I loved it but nearly choked on the price and to be honest they were just a tad too big for what little space I had. I do not have a laundry room but really more like a "closet". What a dilemma until I was cleaning out some things. I almost threw away a memo holder that was not serving its purpose any longer, when I thought about the frame. It hit me just then that it would be the right size to mount on the wall in the "laundry closet" as a drying rack. All I had to do was remove the separators, build an inner frame with dowels and I would have a drying rack. So this is how I did it. As you can see it was just a memo holder/corkboard originally.

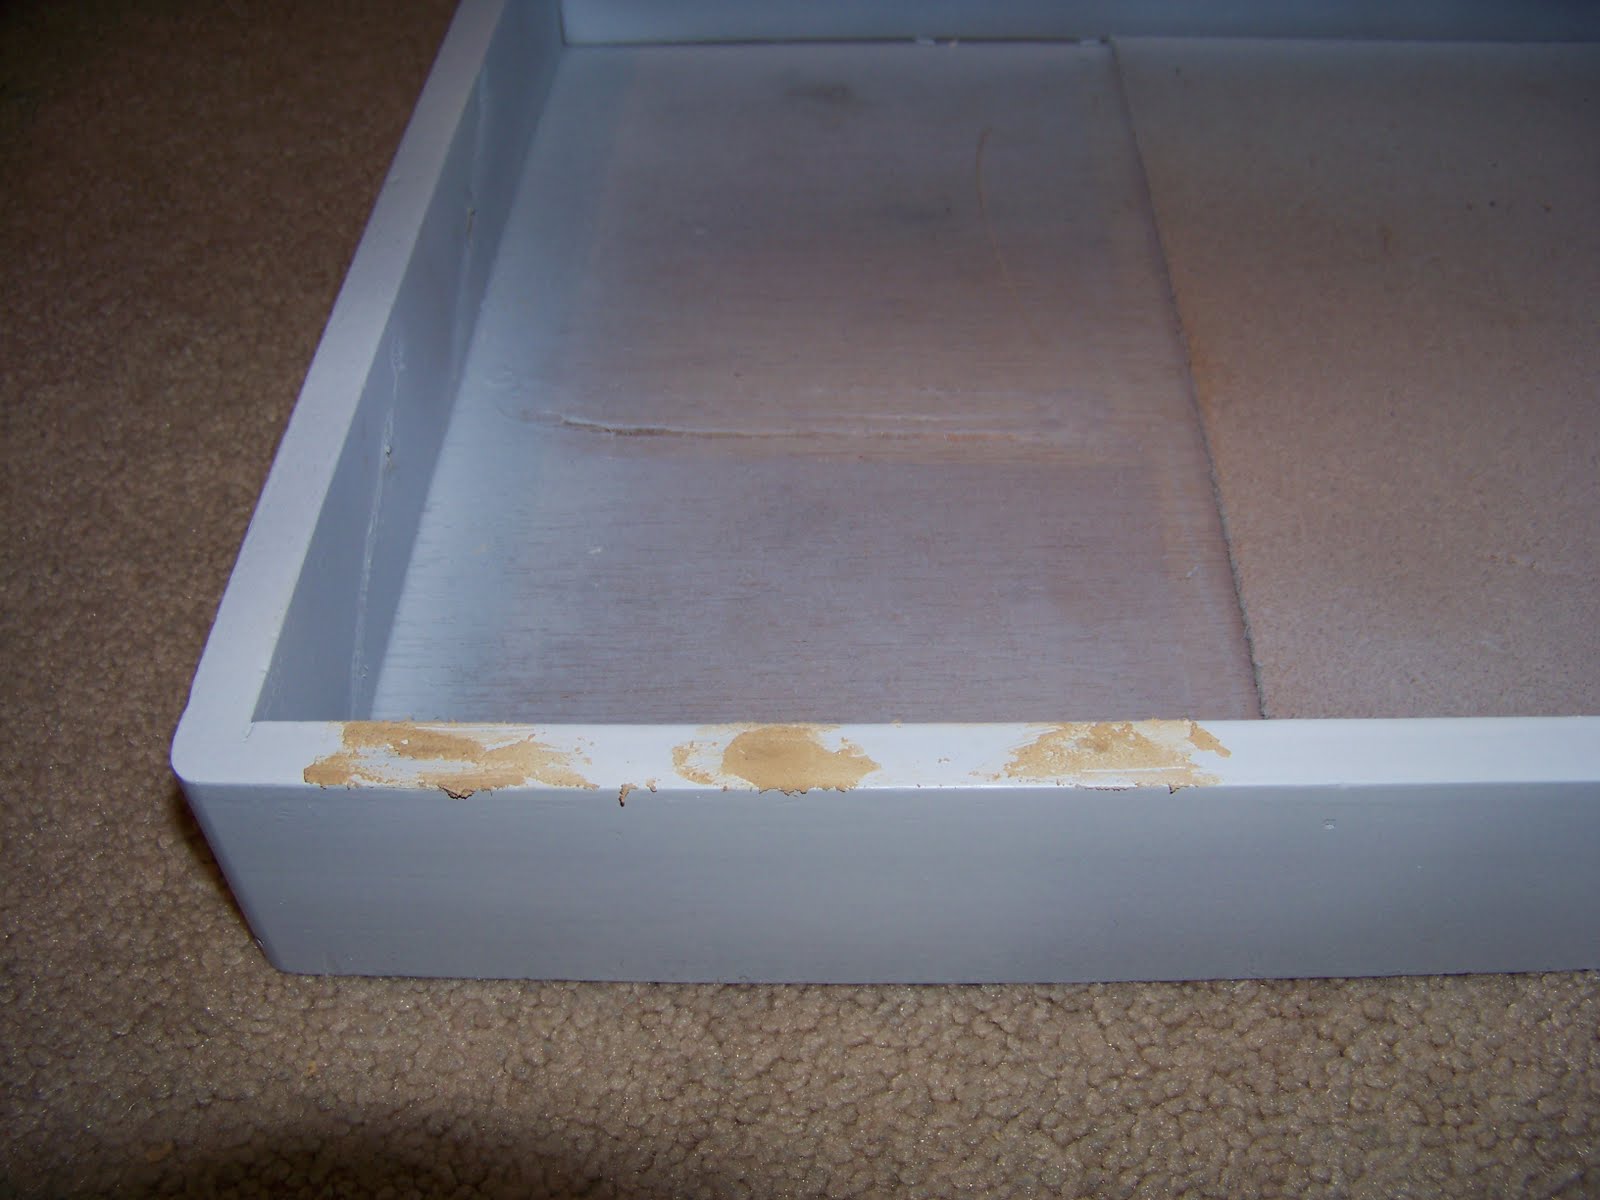
Knocked out the center dividers, removed staples, filled holes and painted a primer coat on it.

Measured the inside of the frame to determine the size of the inner frame. Then cut 1x1 to the desired length. Next I measured, marked and drilled holes for the dowels. I decided to do 4 rungs on my rack but you can adjust it to your needs.

Assembled the inner frame with the dowels.

I had found these little letters for 20 cents ea to spell out "laundry" so I attached them to the outer frame at the top.

Cut a piece of white beadboard to go in the inner frame to cover all that ripped corkboard.
I gave everything a couple of coats of white paint and sealer. Attaching the inner frame to the outer was easily done with little hinges at the bottom. A hook and chain holds it open when in use. A little metal latch at the top keeps it closed when not in use.

I am so pleased with how this turned out. Most of the materials I had on hand from other projects. I spent around $10, so much better than $59.99 and $79.99 price for Ballards drying racks. Don't ya think? Here are a couple of other links to inspire you to make your own drying rack: http://www.marthastewart.com/good-things/make-a-foldout-drying-rack ,
http://www.centsationalgirl.com/2009/07/diy-laundry-room-drying-rack/
I can not wait to see the pics of the ones you create for your laundry rooms!
 I am linking up with these wonderful sites:
                                                                    Someday crafts


Transformation Thursday